Here’s how to make a hand bent steel nameboard…
Bend Steel
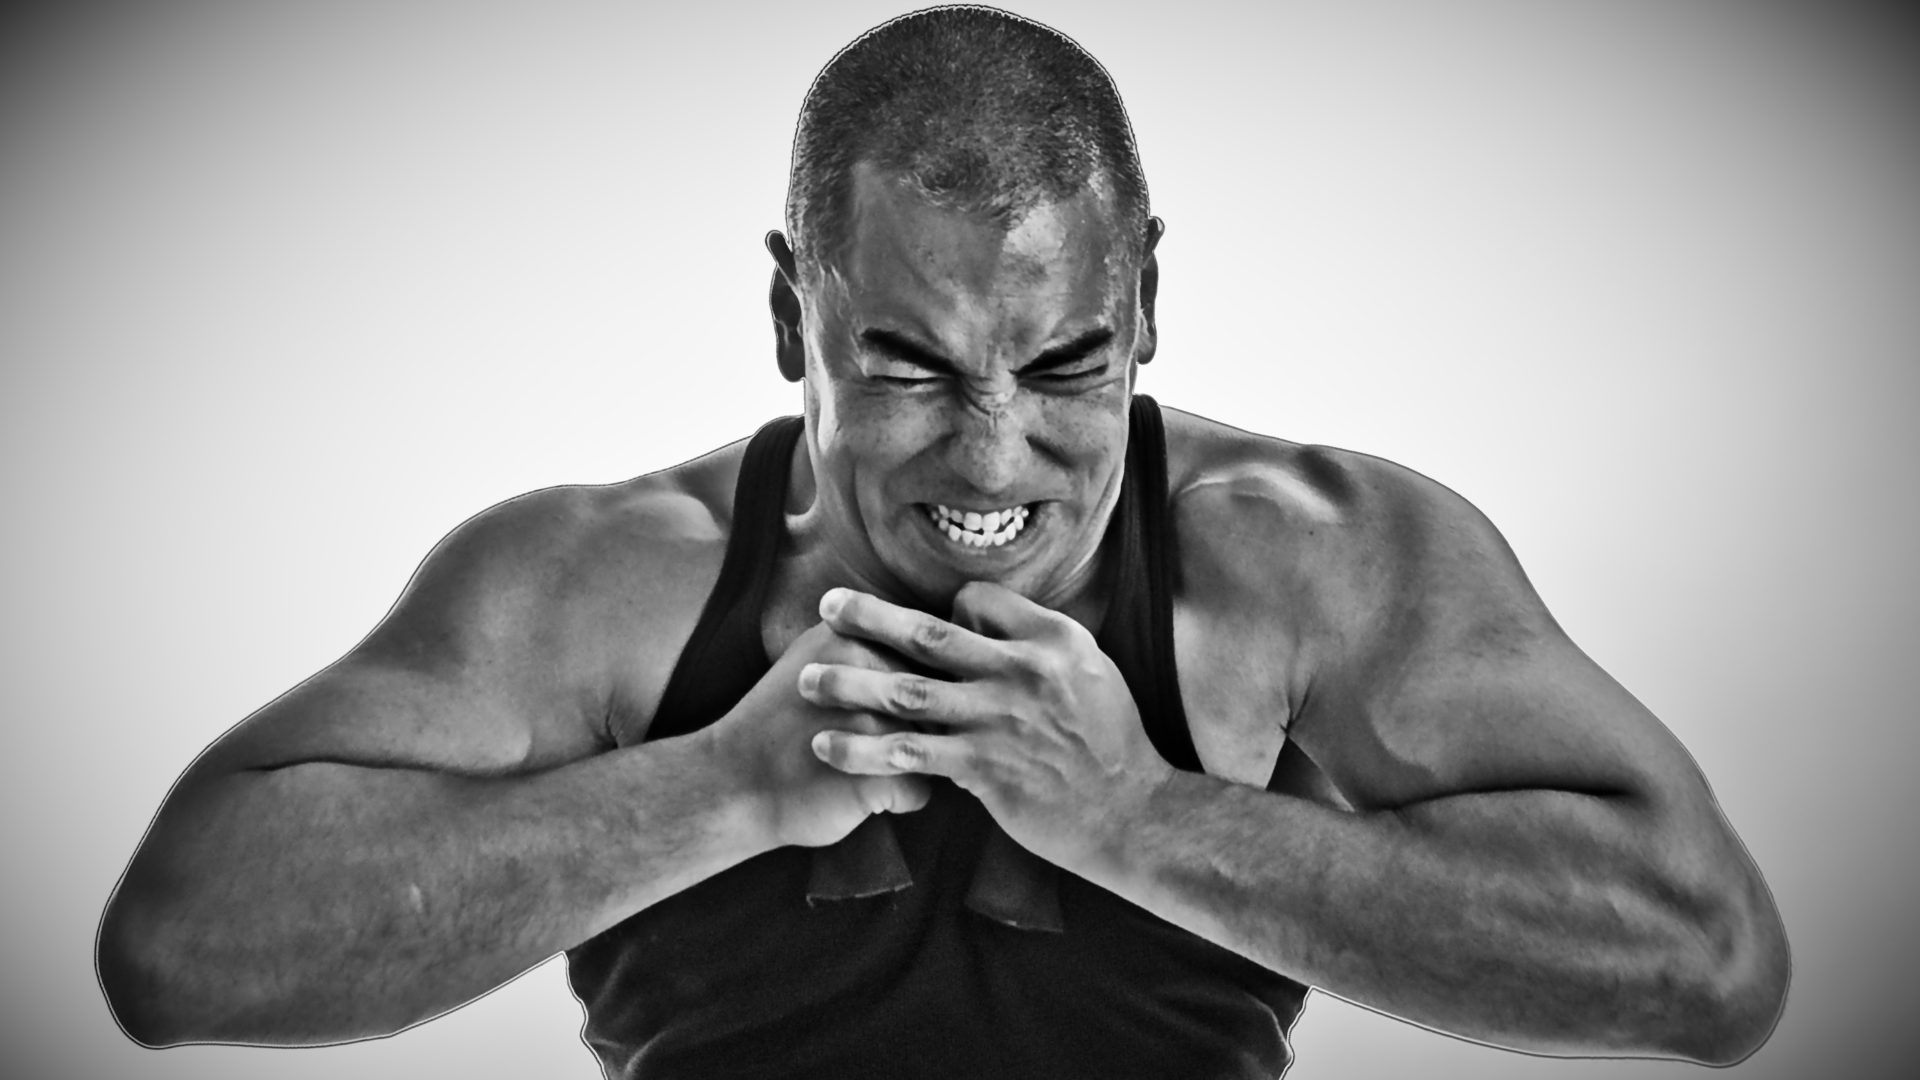
STEP 1: First get strong enough to bend steel with your bare hands. Give this first step about 1-2 years. By then you’ll know about what size steel you’ll need to make letters.

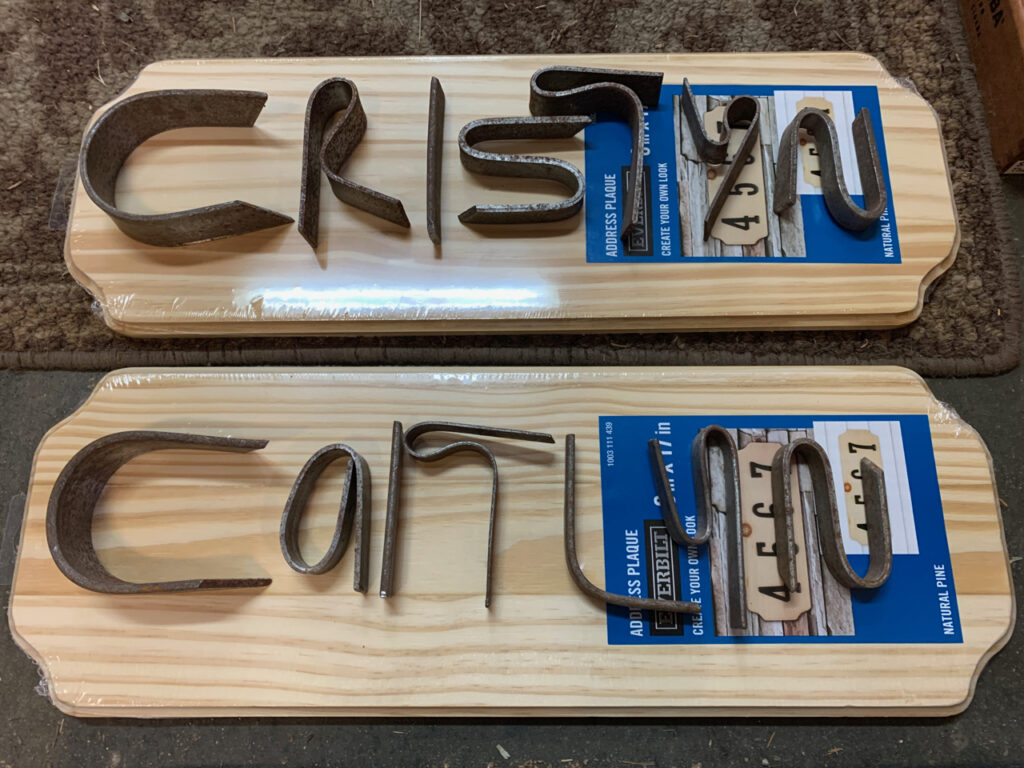
STEP 2: Figure out what you what to spell and obtain the steel for it. Shown here is various sized scrap steel I got from my friend John Mannino. It ranges between 6″ – 9″ in length, 1/2″ – 1-1/4″ in width and 1/16″ – 1/8″ in thickness. Obviously letters that have more bends in them like an “N” will need to be “easier” steel (i.e. longer and/or thinner) and simple letters like a “C” can (and should be) harder/thicker pieces of steel.
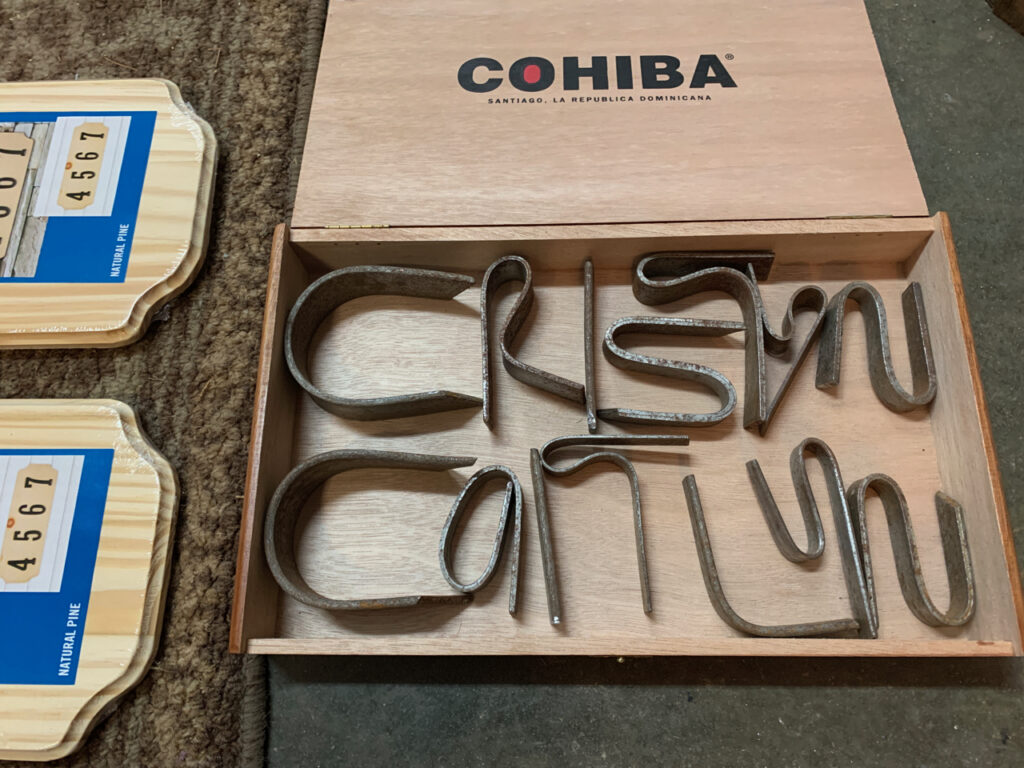
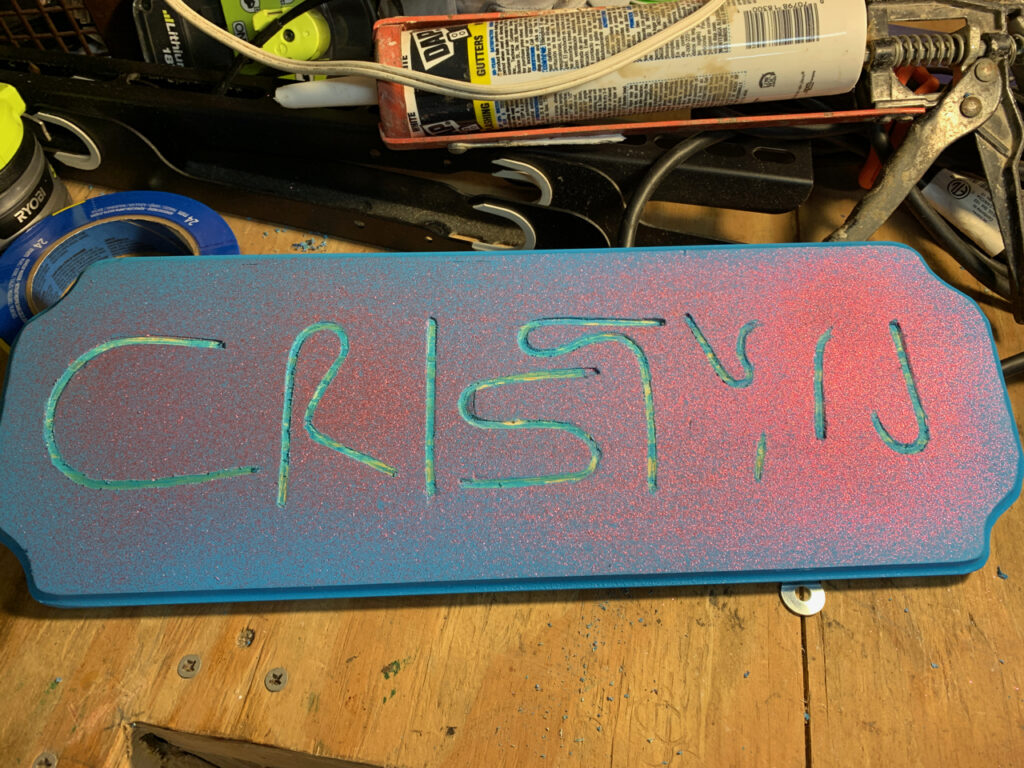
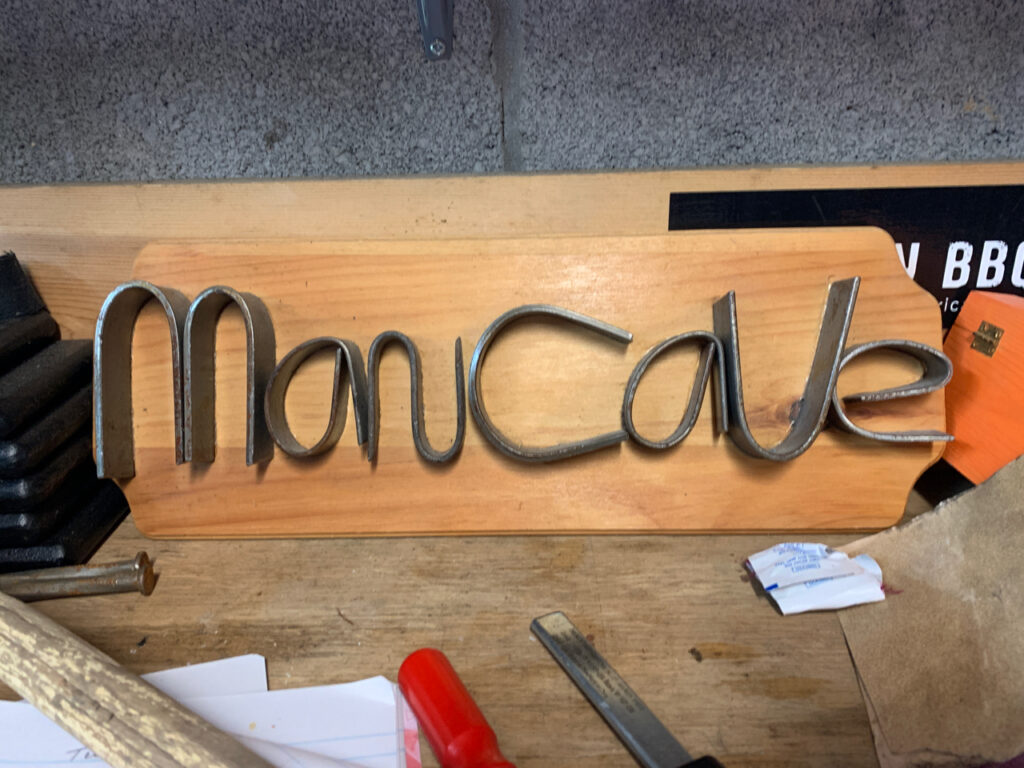
STEP 3: After you have your letters bent, arrange them on a wooden plaque / address board that can be obtained from any hardware store. Keep the plastic on the board for now.
STEP 4: Hit the letters with a hammer to leave an indent in the board. This will keep your letters laid out with the right spacing for when they are mounted. Be sure to readjust the other letters after each strike. These indents will also give you a “trough” to apply the glue in for better adhesion. Note that not the entire letter will be imprinted in the board (nor does it need to be).
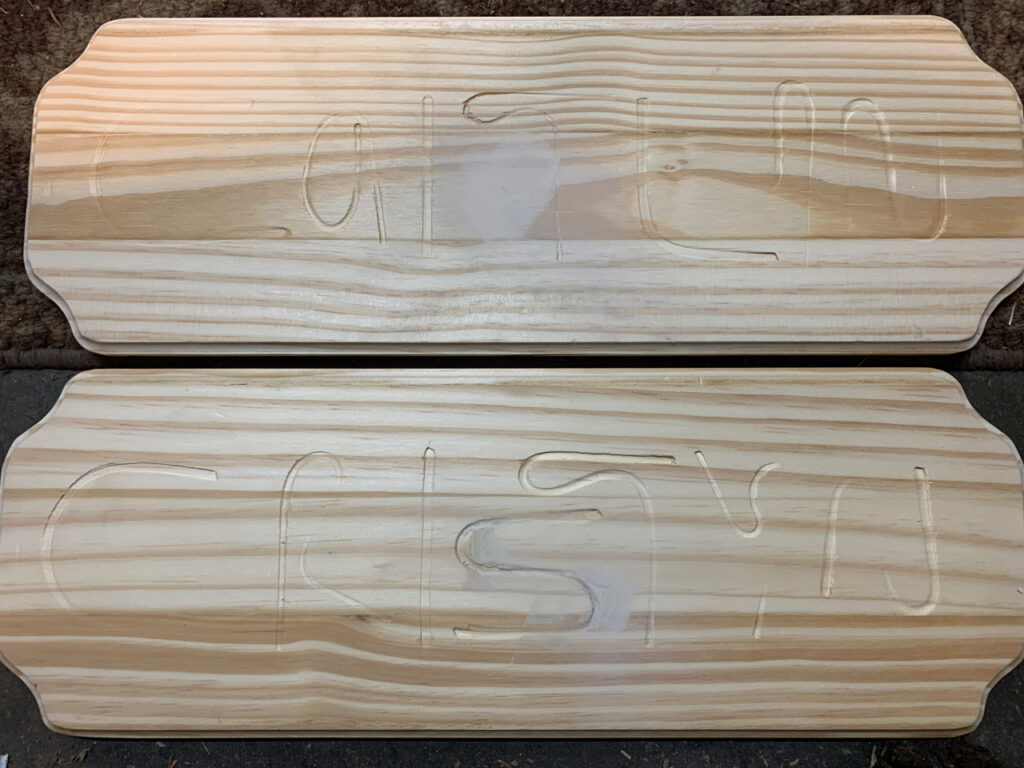
STEP 5: Sand the boards with fine grit sandpaper. Be sure to hit the edges well.
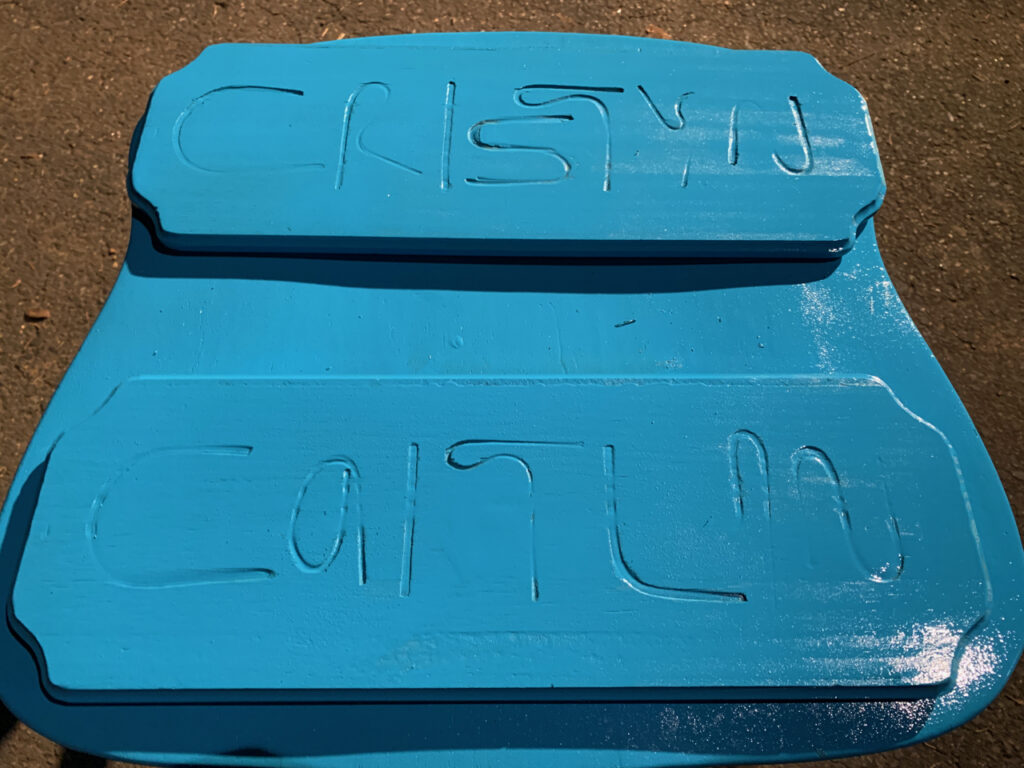
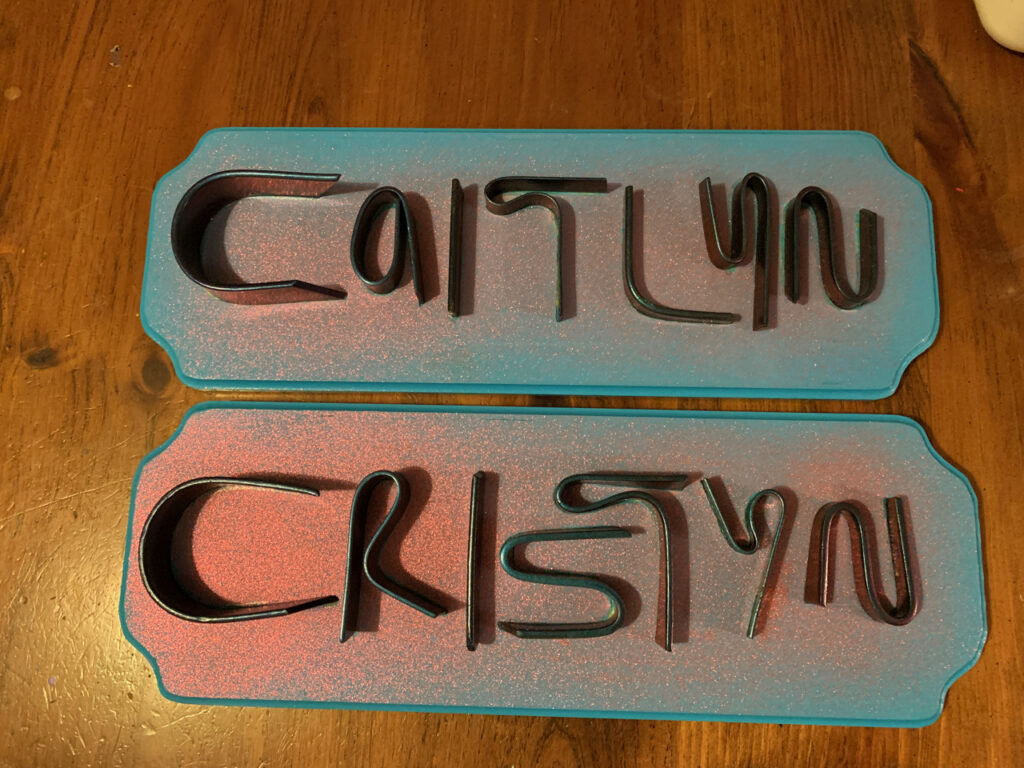
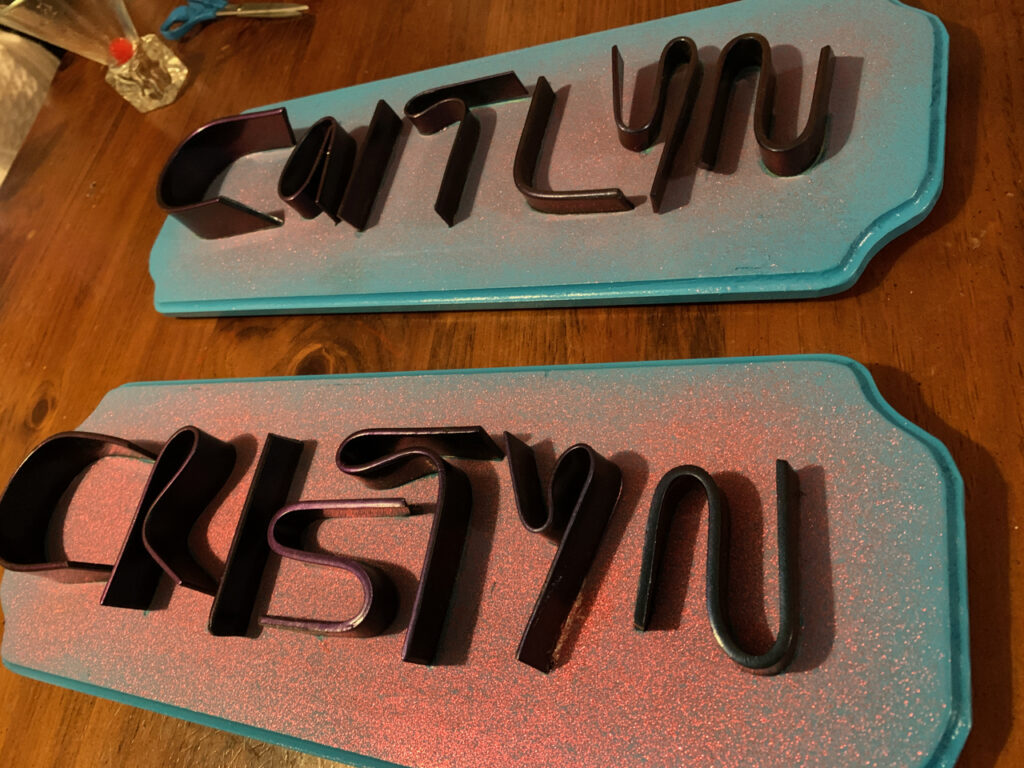
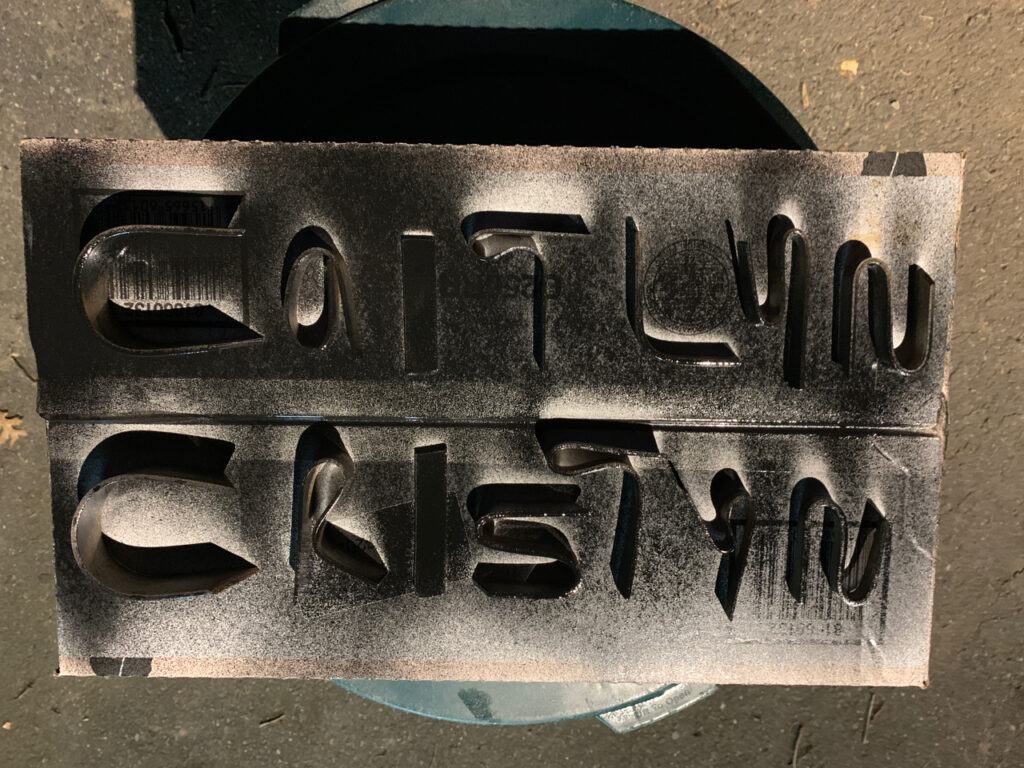
STEP 6: Prime and spray paint both the board and the steel to the desired colors. Follow the instructions on the paint can and allow for the maximum amount of time for everything to dry. [Shown here is a blue board accented with pink glitter; and colorshift blue/purple letters.]
STEP 7: Take a small flat head screwdriver and scrape the paint out of the indents on the board. You can also deepen them as needed. Repeatedly check how the letters are fitting – you want the maximum amount of contact between the board and the steel.
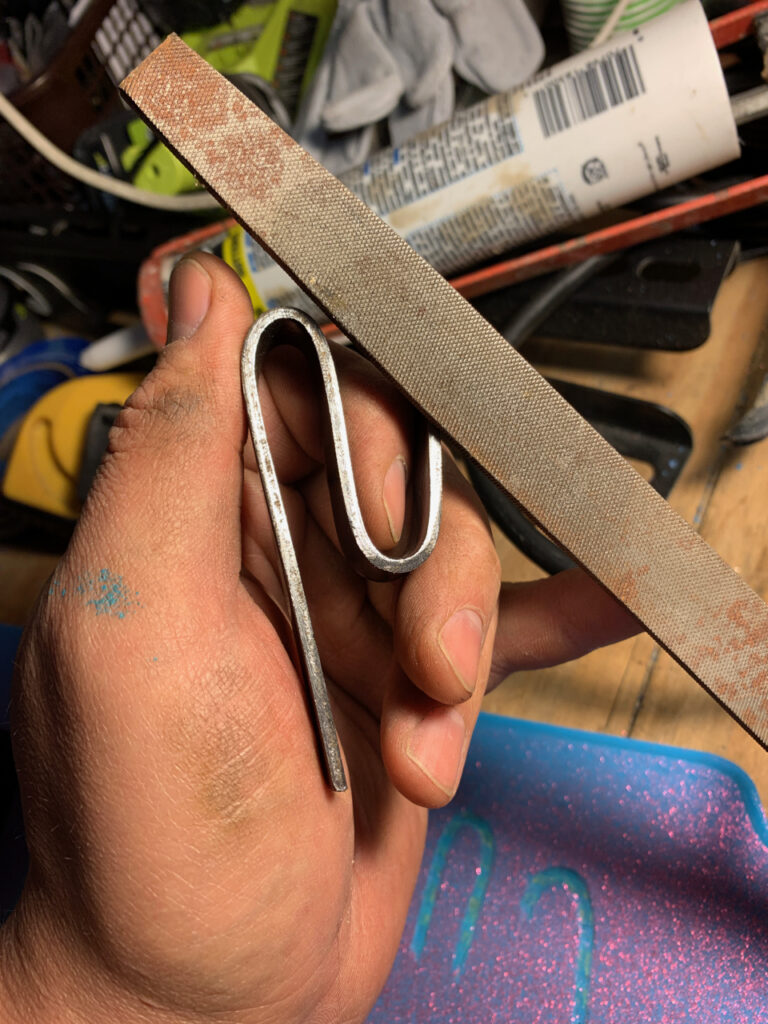
STEP 8: Take a file and file off any paint or rust on the bottom of the letters – (the side that will make contact with the board).
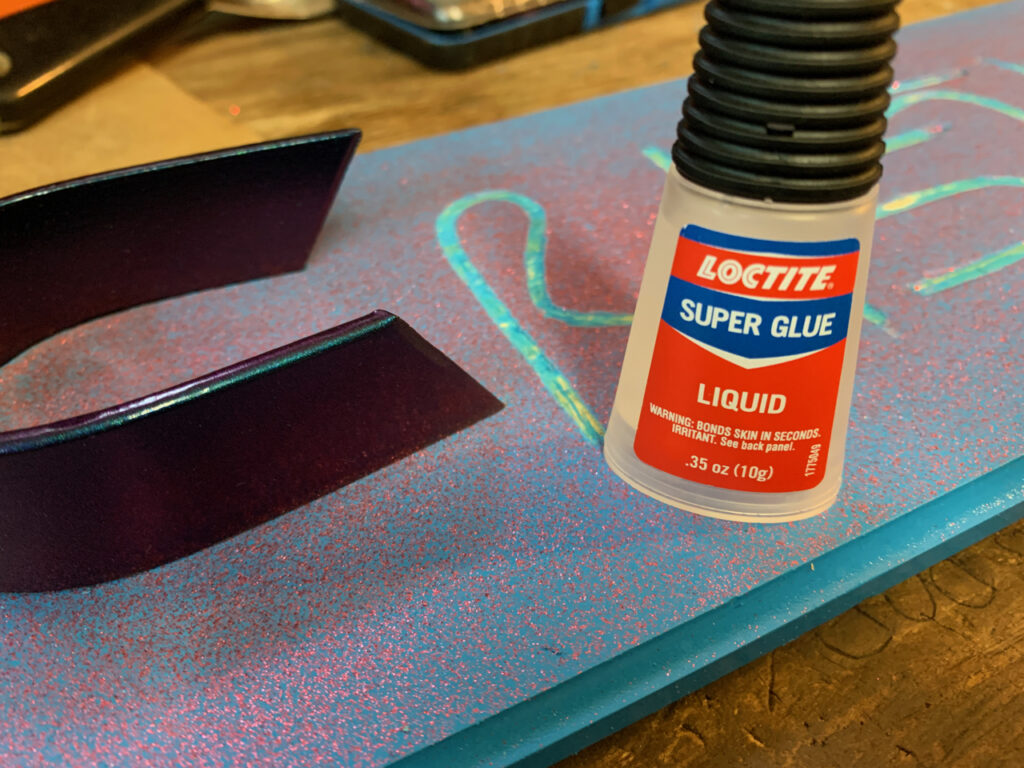
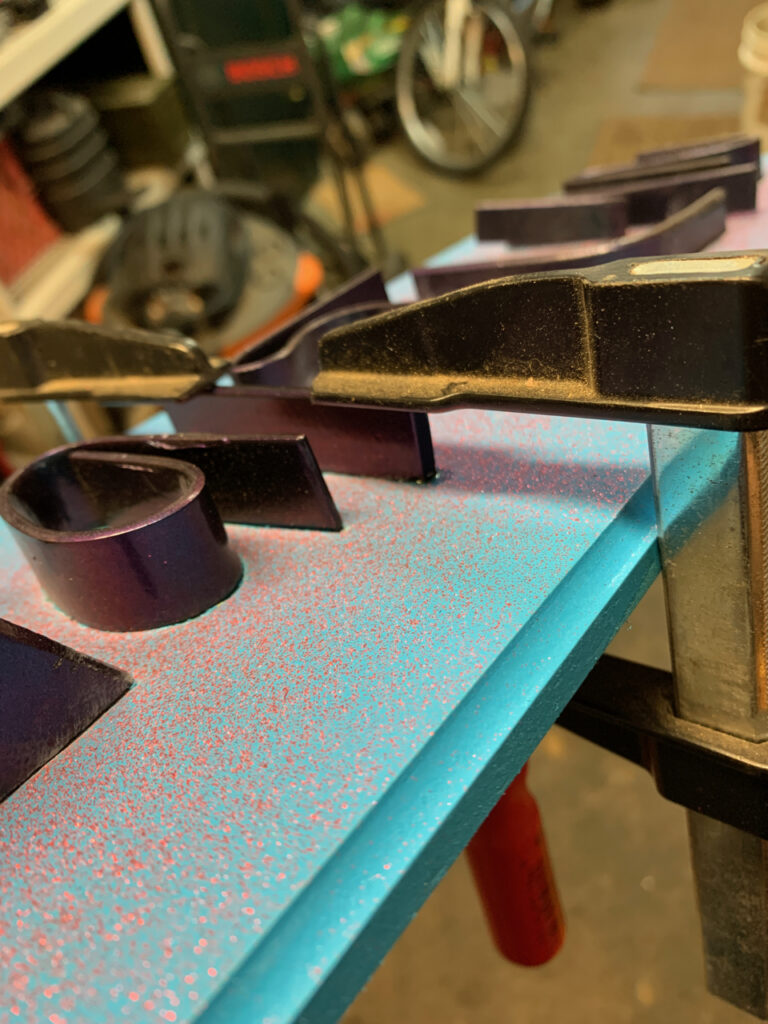
STEP 9: Put superglue or other high strength adhesive into the indents on the board and press and hold the letters into place. Use a clamp if necessary. Follow the instructions on the adhesive and allow for maximum cure times.
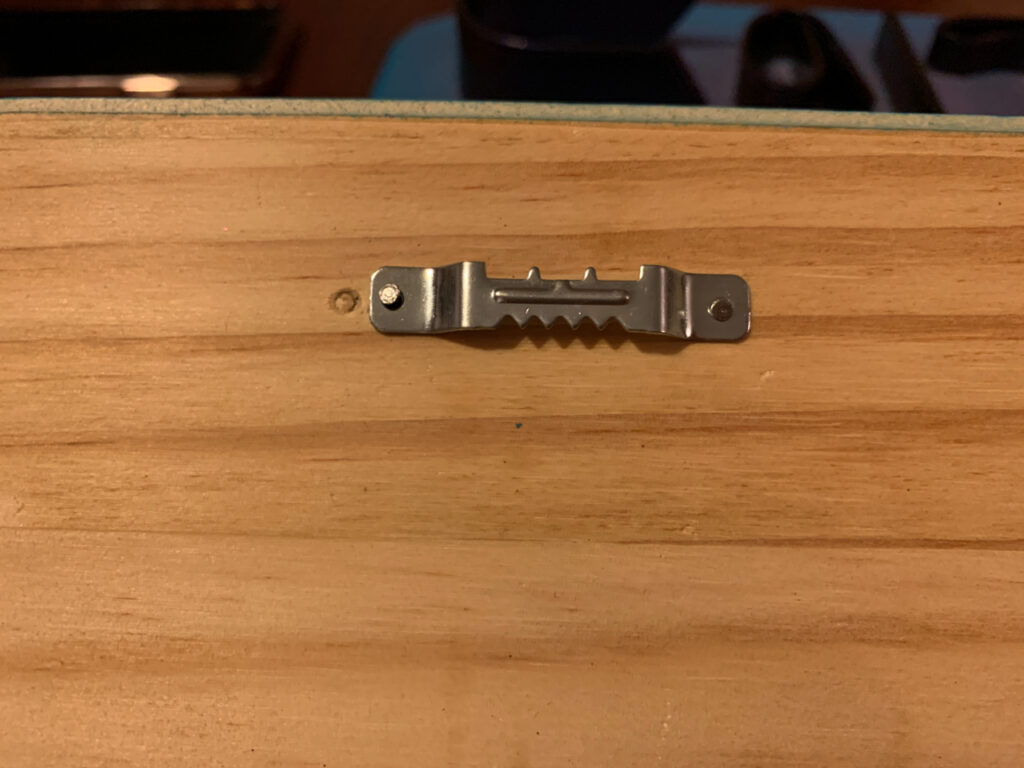
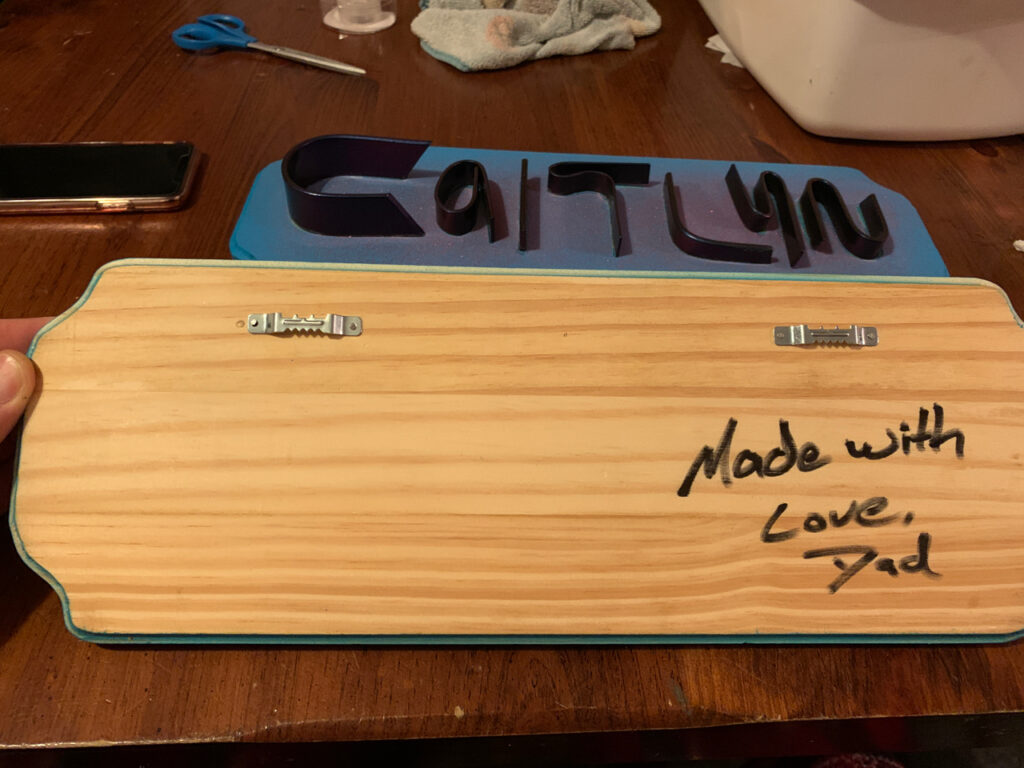
STEP 10: Attach picture hangers to the back of the board. Recommended that you put 2 of them to ensure that your board hangs level on the wall.
Besides getting strong enough to bend steel, the majority of your time here will be spent messing around with paint. You can eliminate steps 6-8 by leaving the materials raw and lacquering the finished board.
Unless of course you have daughters you’re making these for and their favorite colors are blue, purple and sparkly pink, then go ahead and spend the extra time painting. Their smiles will be worth it!